When you’re feeding a child, serving 3+ meals per day, struggles are inevitable. It’s common to have minor hiccups along the way, and many times you can move past them with a few simple changes. Whether it’s difficulty chewing or biting, overstuffing, pocketing, or food throwing, you are not alone.
Today, I’m here to help solve 6 common eating challenges.
- My child isn’t chewing her food.
Babies begin with a simple up and down reflexive motion of their jaw that comes under their own control between 5 and 9 months. From there, they advance to a diagonal jaw movement starting around 7 to 9 months, and later to a circular movement, which is fully developed by about 24 months. Watch for your child to increase the number of chews, size, and rhythm, and to advance from up and down to eventually a circular jaw movement by age 2.
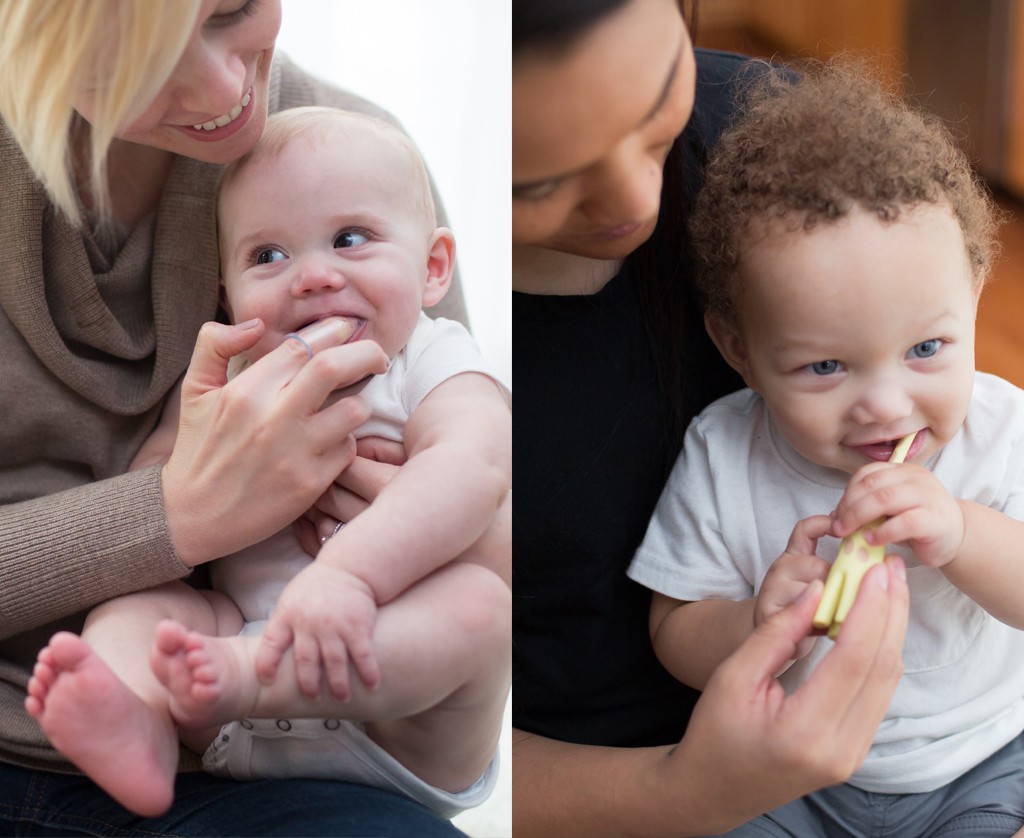
Chewing skills starts with mouthing. If your baby doesn’t put teething toys or tools in her mouth yet, or your child never did that, start there. Give her a variety of stick-shaped teething toys, like the Dr. Brown’s™ Peapod Teether, to chew on daily. If she won’t put it into her mouth on her own, help her. Our goal is to place these tools between the gums or molars on the sides of her mouth.

If your child won’t chew on a teething toy or tool:
- Bring this to your child’s mouth and wait for her to open and accept it. This should be enjoyable and should not feel forced. Try singing, playing games, and moving up from her hands, arms, and shoulders toward her mouth. Once she will allow it in her mouth, place it on her gums in the molar area. Hold it between her gums and wait for her to bite down. If she won’t bite, give a little gentle downward pressure to her lower gums and upward pressure to her upper gums.
If your child is chewing on teething toys and tools, but won’t chew food, try these strategies:
- Dip stick-shaped teething tools in puree, roll tools in a soft smashable solid (like avocado or banana), or roll in crumbs of a meltable solid (only with this texture after she is crawling), and help your child place this on her molar area for chewing. As described above, hold the tool between her gums and wait for her to bite down. If she won’t bite down, apply a little gentle downward and upward pressure to her gums.
- Offer stick-shaped foods that are soft (starting after she is sitting up) and meltable (after she is crawling). When you offer these foods, guide her to put them between her molars. By placing between the molar areas, your child will naturally learn to bite and chew with her teeth vs. smashing with her tongue.
- Once your child is crawling (around 8 to 9 months), place small pieces of soft smashable solid (a small cube of soft fruit or vegetable about the size of your pinky fingernail that you can easily squish between your fingers) or a meltable solid (a small piece of a dissolvable puff) between her gums on the sides. When you place a piece of food to the side, she will bite down, and will shift her tongue to the side you place the food. When she shifts her tongue, her jaw will shift, advancing her chewing skills. Alternate sides to teach the back and forth motion of the tongue and jaw.
- My child won’t bite into bigger pieces of food.
Babies are typically able to take a controlled bite from a soft solid beginning between 7 and 12 months.
Teaching a child to take bites and to chew also starts with mouthing. If your child hasn’t done that or if he skipped that step, start there.
Once your child is regularly mouthing and chewing on tools, help him to learn to bite by offering stick-shaped foods. If he needs help, guide these over to his molar area to take bites.
If your child is chewing tools regularly, but is still not biting pieces off:
- For a baby or younger child, offer a stick-shaped food and hold it for your child very close to the top, so he is only able to bite off beyond your fingers.
- For an older child, make a line on the food so your child can see where to bite. You can use a toothpick to draw a line, or a fork to make a dotted line. I like to tell kids these are the teeth marks, and then ask them to bite on the teeth marks.
- Teach your child about bite size. You can show a picture of a mouse and tell him that a mouse “takes small bites” and a picture of a lion who “takes very big bites.” Talk your child about the best bite size for his mouth, and then rehearse by having him identify mouse vs. lion bites on himself and you.
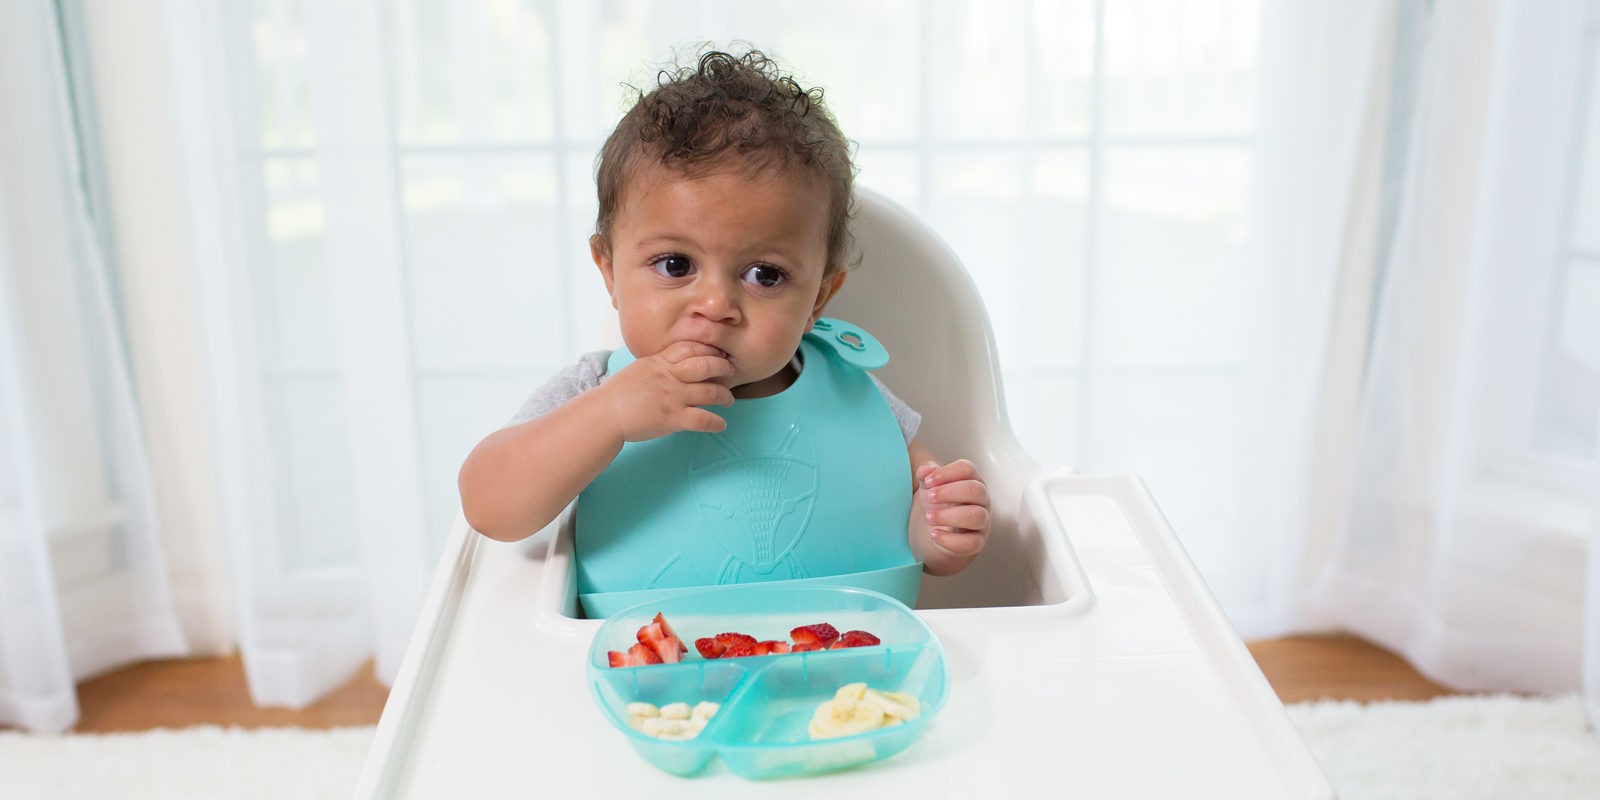
- My child is overstuffing her mouth.
First, work on improving your child’s oral awareness (the ability to understand and feel food in her mouth, and the borders of the inside of her mouth). Children learn this through mouthing, typically by 5 to 9 months.
- Help your child improve her oral awareness by brushing inside her mouth (on the top and sides of his tongue, inside her cheeks, and along her gums) with a finger brush or child sized toothbrush. Do this with tooth brushing and/or just prior to meals to wake up her mouth and get her ready to eat.
- Just prior mealtime while you are preparing a meal, give your child a stick-shaped teething tool for chewing practice. Make this part of your mealtime routine.
While your child is working on improving oral awareness and sensation in the mouth, help her to learn to take small bites by only offering just 1-2 bites on her plate at a time. It sounds simple, but most of the time, we just need to break the habit and allow the child to practice this skill. Keep her full serving of food over to the side, and add new bites to her plate as she eats.
For an older child, talk about small bites one at a time, and use pictures (like the lion and mouse described above) to help her understand the difference.
For any age child, offer foods with stronger flavors. These provide more sensation in the mouth. When a child can feel the food, she’ll be less likely to overstuff.
- My child pockets food in her cheeks.
With pocketing, I’d recommend the same strategies as described above with mouth stuffing. Start with the mouthing, brushing, and chewing practice. Again, the key here is oral awareness and that starts in infancy with mouthing.
With pocketing, again offer 1-2 bites on the tray at a time, but this time also offer a cup of cold water for sips between bites. Cold water is best because it can increase sensation and be alerting for a child’s mouth. Practicing sips between bites will get the child accustomed to the feeling of a clean mouth.
Teach an older child to use her tongue to clean her mouth between bites. Show her how you move your tongue to the side and then push it into your cheeks to clear food out. I like to tell a child that the tongue is like a broom, cleaning the food around the mouth. Cue your child to “use your broom” when you notice pocketing. You can also provide a touch cue to the outside of a child’s cheek to remind her to move her tongue to that side.
Use a mirror with meals or snacks every once in awhile. You can keep a small handheld mirror at the table, or move your table so a mirror is across from your child. Cue your child to look in the mirror to “make sure your mouth is all clean” between bites. If your child’s oral sensation is reduced, this visual cue will be very helpful.
- My child throws food during meals.
First, take a look at which foods your child is throwing and when. Is your child full and then begins throwing? Is he throwing a food he doesn’t like? Does he do this when his plate is full and he’s overwhelmed? If you can get to the bottom of why this is happening, then you can solve this struggle. If you’re unsure, try a combination of methods and see what works for your child.
Here are 4 reasons why food throwing occurs and how to help:
- If your child does not want to eat a particular food:
- Give your child a place to put the food. Use an “all done” Place a small bowl next to your child’s plate. When he starts to throw the food, re-direct him to put the food into the “all done” bowl. Verbally cue your child, “This is the all done bowl. If you’re all done with that, put it here.” Do not push your child to eat any of the food he has placed in this container.
- If your child is full:
- End the meal. When your child throws food, take that as a cue that he is done. If you don’t feel your child is truly done yet, try giving a reminder first, “If you throw your food, that tells me you are all done. If you throw again, we will be all done.”
- If your child looking for attention:
- Many times kids will throw food if they are looking for attention, both positive and negative. Ignore the behavior and bring your focus to something positive your child is doing, something else on his plate, or a new conversation. Without any attention, the food throwing should diminish over time.
- If your child overwhelmed:
- Try removing most of the food on the plate and offering just 2-3 simple bites. Make sure the table space around your child is clear and free of clutter.
- My child chews foods and spits it out.
Chewing and spitting out food is very common for toddlers. We often see children doing this with new foods, harder to chew textures, or when they are not hungry. If it’s happening every once in awhile, or for a brief period of time, it is completely normal. However, if this persists, or your child is not swallowing any foods, then further evaluation by a professional is warranted.
If your child is chewing and spitting out food, stop the behavior by changing her focus. Offer a sip of a drink, place a different food on the tray, or start a conversation to re-direct her. If she continues to do it, then end the meal. Say something like, “I can see that you are all done, let’s clean up.” Keep it neutral and avoid making a big deal about the spitting, as this can only increase the behavior (if your child enjoys the attention they get from the reaction). I like to go with a “two strikes rule.” As described above, if your child continues after two attempts to re-direct or change things, then the meal is done.
If you notice your child is always spitting a certain texture, make that texture easier for your child to manage by chopping it smaller, cooking it down to a softer consistency, or by adding a dip or sauce to soften it.
No matter the struggle, you are not alone in this. Feeding challenges are common, especially in the toddler years. Sometimes the simplest changes can make all the difference.
If you’re finding yourself overwhelmed, these challenges are impacting your child’s health and wellness, or they are not going away, seek out a Clinical Feeding Evaluation with a Speech-Language Pathologist or Occupational Therapist. During this appointment, the professional will watch your child eat and drink, and will give your personalized recommendations and treatment plan.
ChiKids Speech & Feeding offers home-based, in-person Feeding Evaluations and Treatment for families in the Chicagoland area, as well as virtual options for families across the US. To learn more, head to chikidsfeeding.com or @chikidsfeeding on Instagram.
About the author:
Catherine Callahan, MS, CCC-SLP, CLC
ChiKids Speech & Feeding, LLC
chikidsfeeding.com
@chikidsfeeding

Catherine is a speech-language pathologist, pediatric feeding specialist, certified lactation consultant, and mom of three. She resides in Chicago, where she works at a top 10 US Children’s Hospital and owns her own business, ChiKids Speech & Feeding, LLC. In her private practice, Catherine offers in-home and virtual feeding evaluations and treatment for local infants and children; and through her social media and blog, she shares everyday feeding strategies and supports families and professionals across the globe.